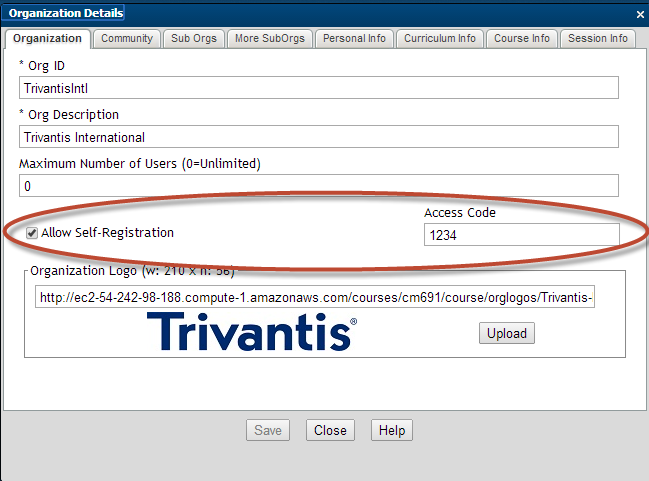
In CourseMill, when you define an organization, you can allow new users to create their own UserID by checking the Self-Registration box in the Organization Detail page as shown below. You can also require an access code that you would distribute only to those you wish to self-register.
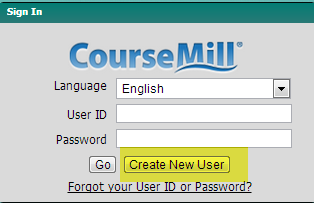
Then CourseMill’s standard login page will contain a Create New User button to allow new users to set themselves up in CourseMill:
When a user clicks on the Create New User button, if there are multiple Organizations in the CourseMill site, they first need to determine which Organization they “belong” to. It is recommended that you give them prior instructions on selecting the proper Organization. The following screen will display asking for this input:
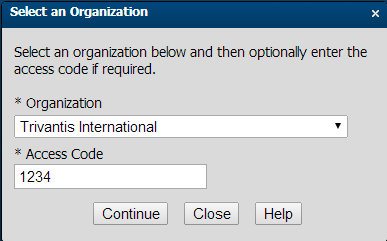
If an access code is needed, they would enter the access code you provided them and click Continue.
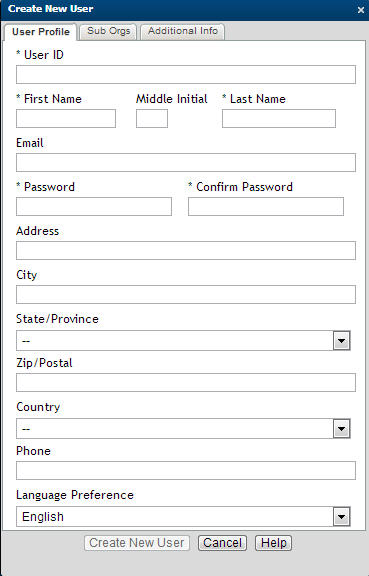
Once the user clicks Continue, a set of data entry screens will display asking them to fill in certain information. Depending on how the organization is set up, a user can see one, two, or all three tabs as defined below.
User Profile – General information about the user. Mandatory fields are marked with an asterisk.
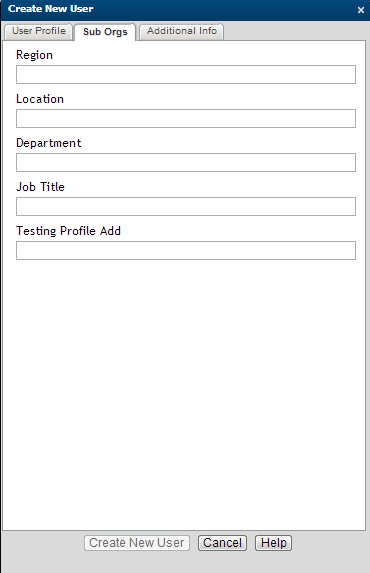
Sub-Orgs – Further definition of where a user generally fits into the organization. This is normally the drop-down list of values you created when defining your Sub-Orgs.
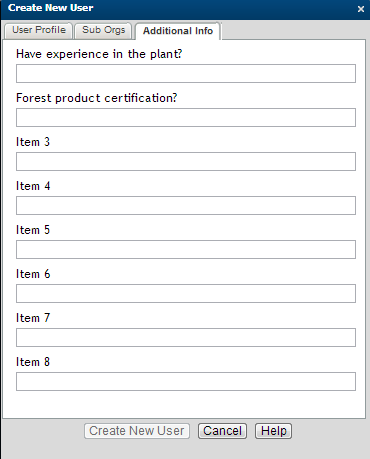
Personal Info – Additional information your organization is asking for outside of the standard information asked on the User profile screen. These fields are initially established when defining your organization (see "Personal Info Tab" in What Does Organization Mean in CourseMill? for details).
|
|
|
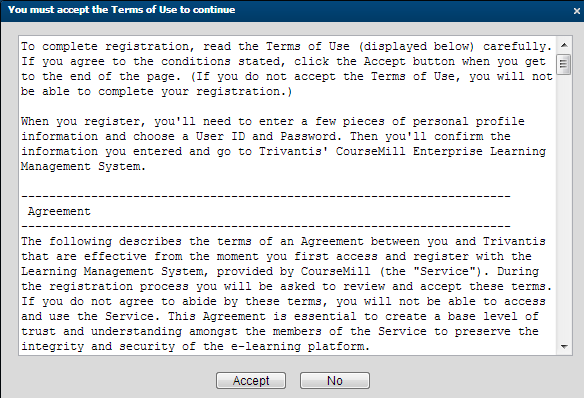
Once all information is keyed in and the user clicks Create New User, they might be directed to the following screen if your Organization forces an acceptance of their Terms of Use Policy. This file comes pre-worded with verbiage upon install, but you can create your own verbiage, save it as a PDF, and have it re-installed back onto your system by your host provider.
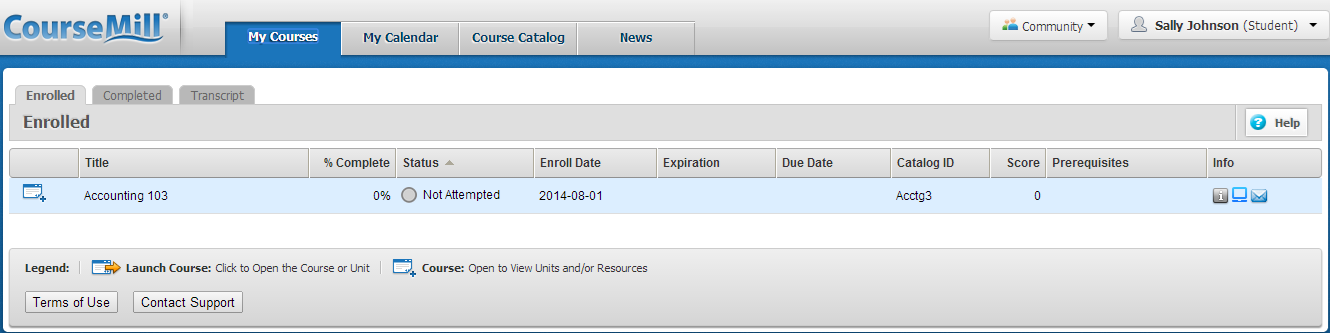
Once the user clicks Accept, or if this page is not mandated, their User ID is created and they are taken to the user interface of CourseMill where they are logged in and generally viewing their My Courses tab or their Course Catalog tab.
© Copyright Trivantis Corporation 2015